Mapit is a gadget, so it needs to be added to a JIRA dashboard before it can be used. To quote the JIRA documentation:
The JIRA Dashboards is the first screen you see when you log in to JIRA. It can be configured to display many different types of information, depending on your areas of interest. If you are anywhere else in JIRA, you can access your JIRA Dashboards view by clicking Dashboards at the top of your screen. The information boxes on the dashboard are called Gadgets.
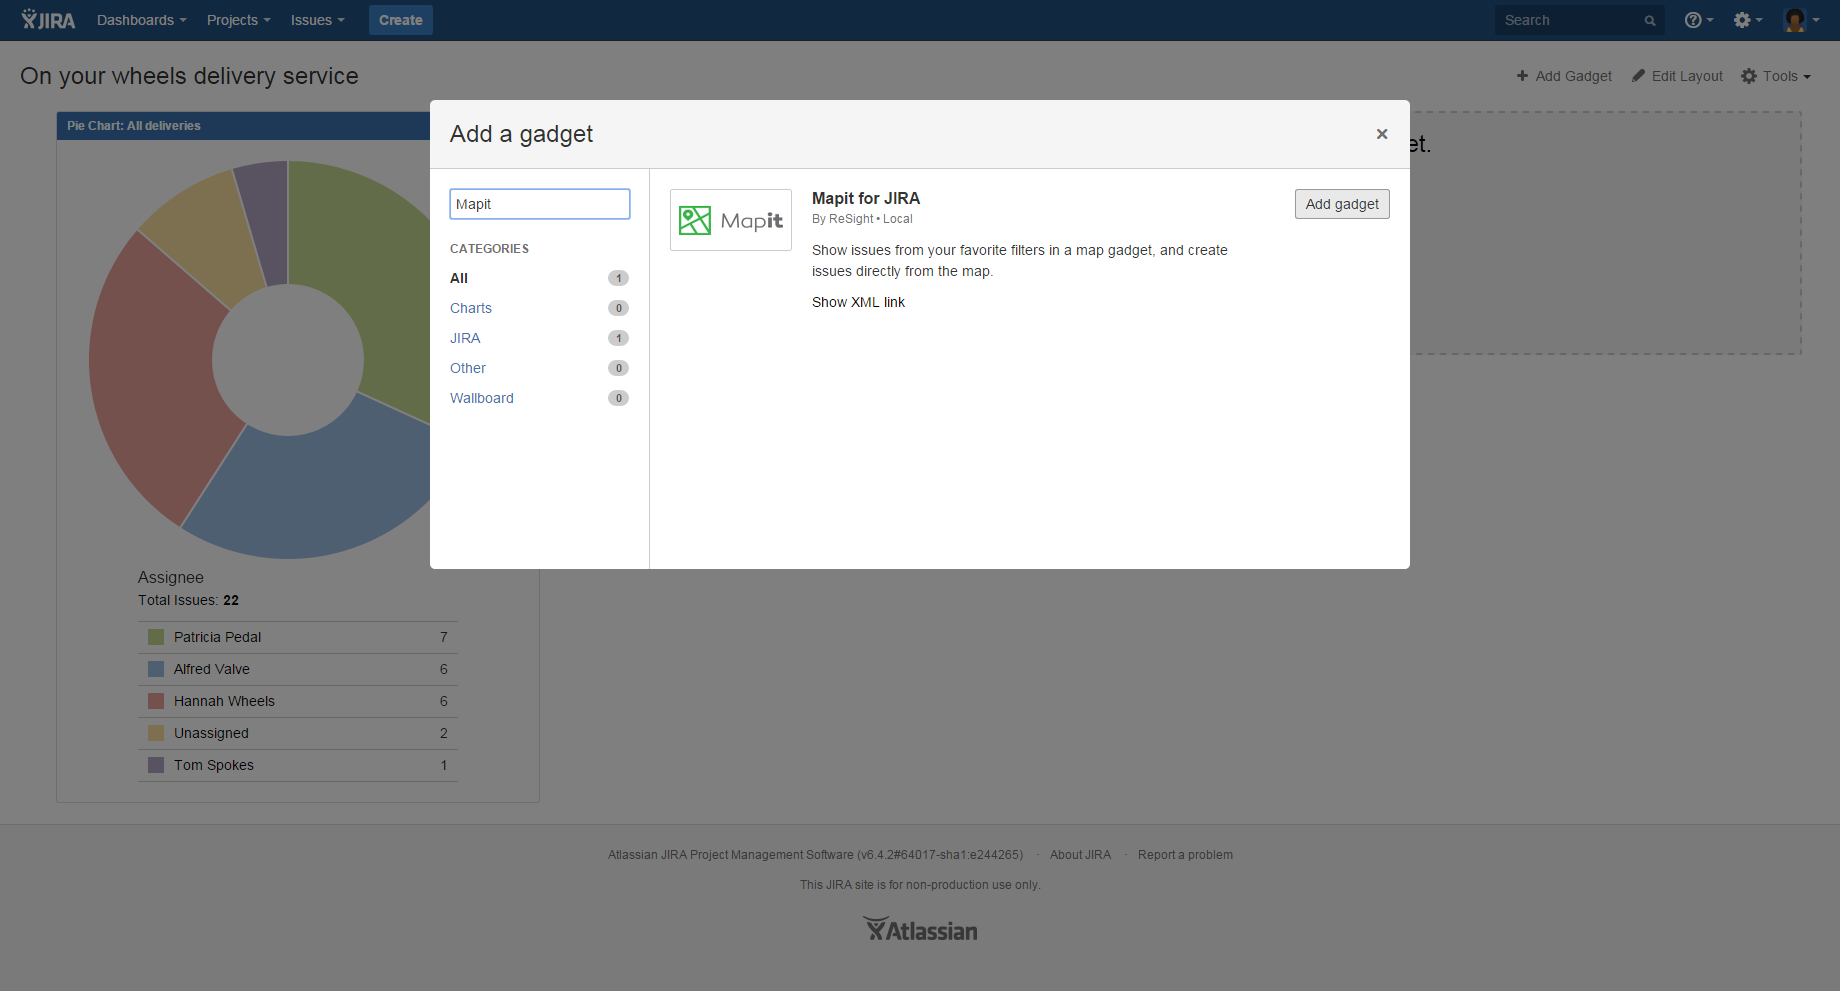
Add the Mapit gadget to your dashboard
Click the "Add Gadget" link at the top right of the dashboard (note: if this link is not available, you need to select or create a dashboard that you are allowed to customise)
Type "Mapit" in the search box
Click the "Add now" button for the Mapit gadget
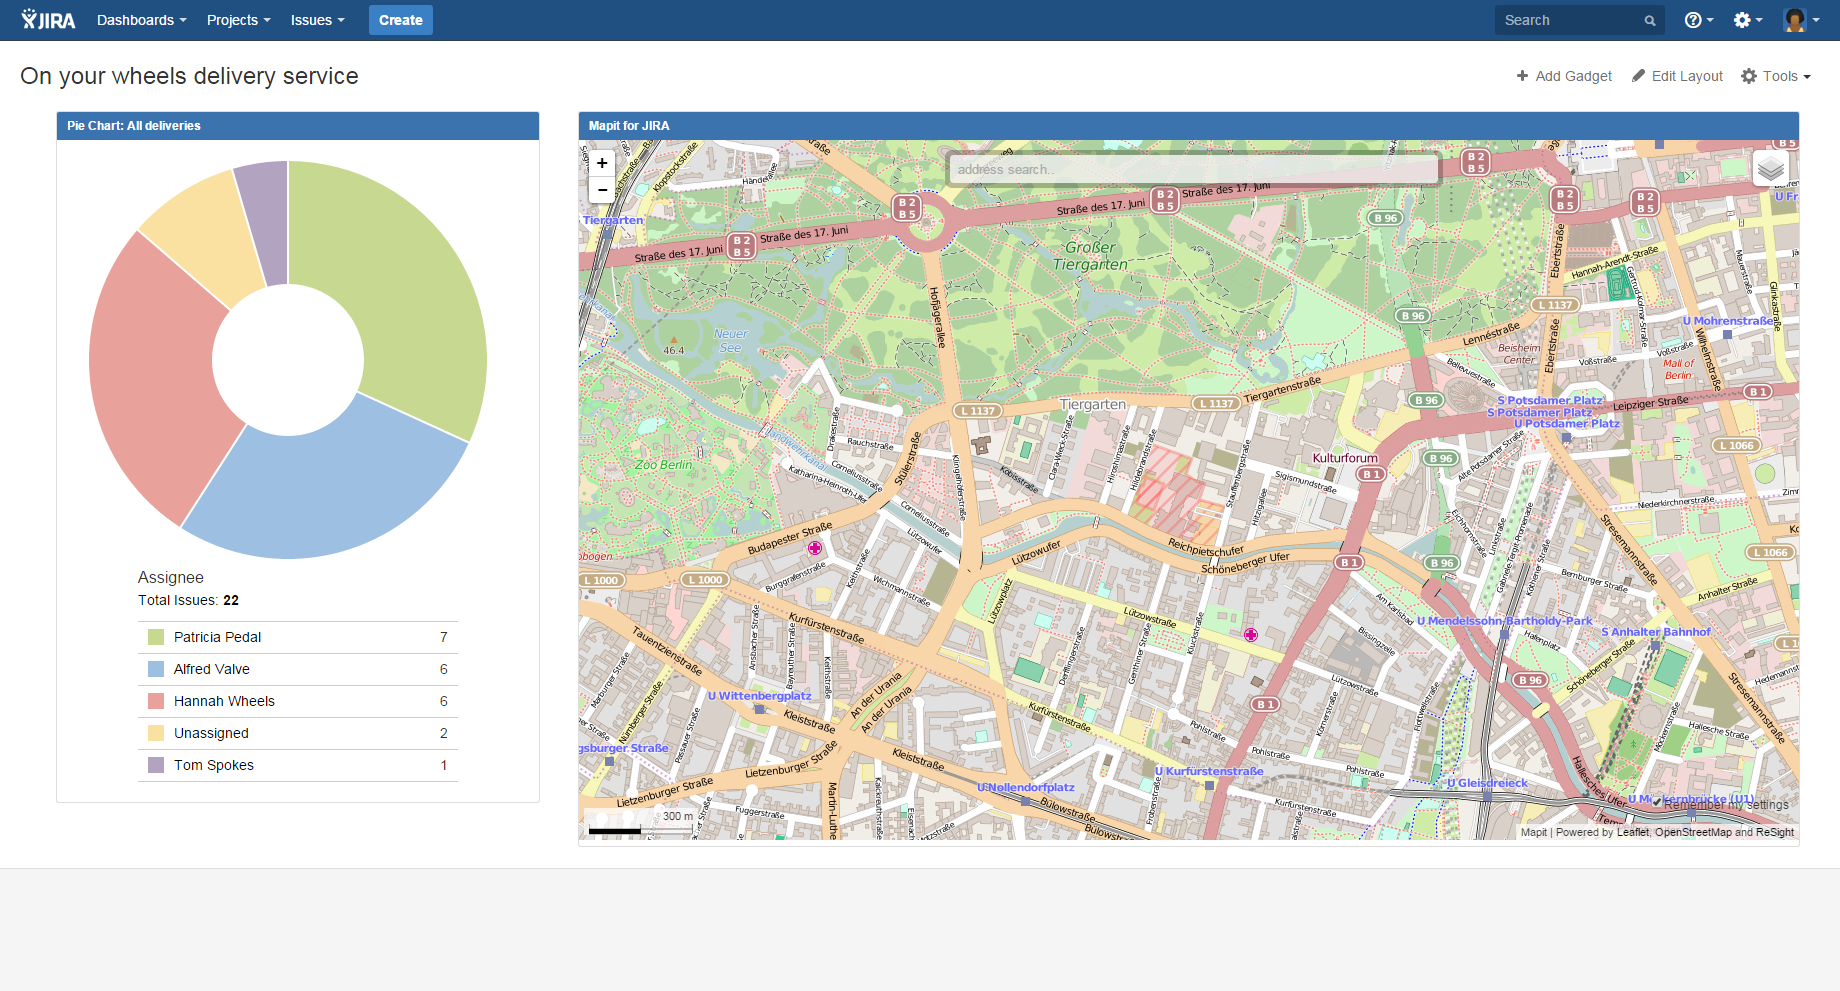
Close the "Add a gadget" dialog. The Mapit gadget is now on your dashboard! You can of course move the gadget around according to your preferred layout, and change the header colour, just like any other JIRA gadget.
Configure the gadget
You can choose whether to set up Mapit with a default filter (useful for shared dashboards), as well as controlling refresh options and user settings.
Please refer to the Gadget settings page for more information
JavaScript errors detected
Please note, these errors can depend on your browser setup.
If this problem persists, please contact our support.