Getting started with Mapit for JIRA
This page gives you a quick tour of the necessary configuration to get started once you've installed the Mapit add-on. Please refer to the Mapit Administrator's Guide for the full documentation.
Please note that Mapit requires that your JIRA server instance and the JIRA user's browser is connected to the internet, so that the map services can be reached.
1. Set up custom fields
Depending on the selected Geographic coordinate system: Latitude/Longitude or UTM you need the following custom fields to store location information for issues.
Latitude/Longitude (default):
- A custom field to store latitude position
- A custom field to store longitude position
- A custom field to store address information
UTM:
- A custom field to store utm position
- A custom field to store address information
Supported types: Text Field (Single Line) Custom Field, nFeed Custom Fields, Scripted Fields (ScriptRunner).
If you do not have appropriate fields set up already, you need to create them:
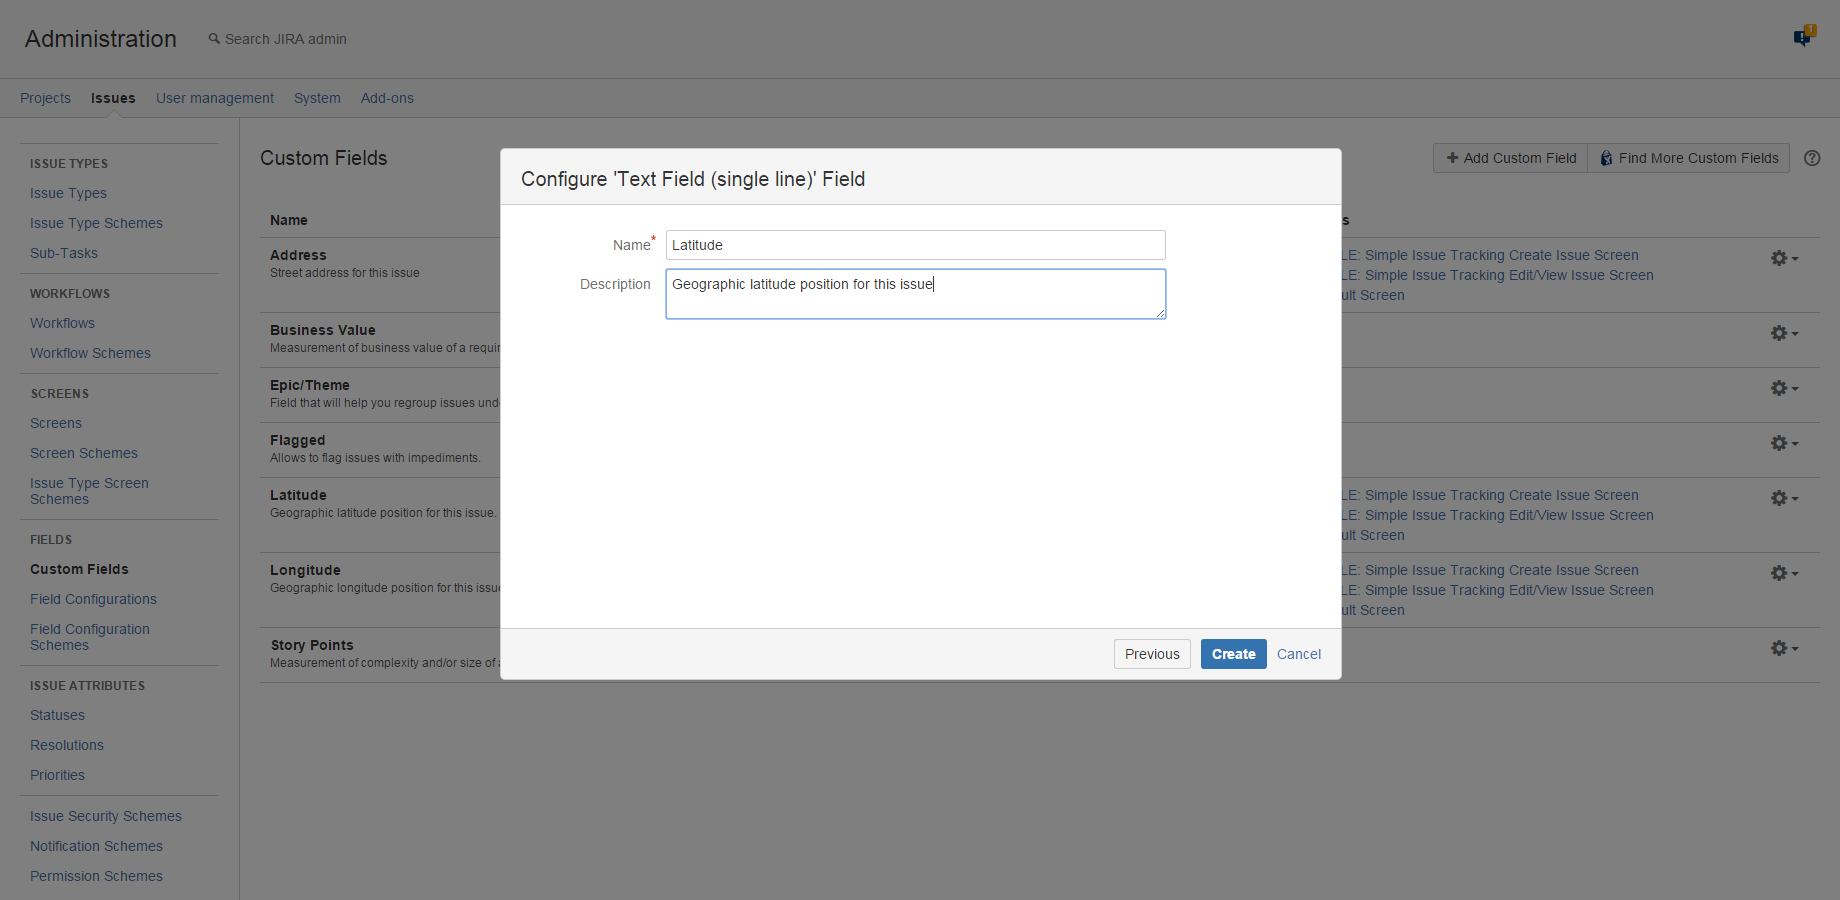
Next, associate the custom fields with the appropriate screens, so that your users can add latitude and longitude (or utm) information to their issues. We recommend adding the fields to any screen used for creating, editing, or viewing an issue.
2. Associate custom fields with Mapit parameters
Go to the Mapit General configuration page, and use the select lists to set up which custom fields Mapit should use for geographic latitude position, longitude position (or utm) and address (optional).

Decide whether users should be able to create issues from the map (we recommend enabling this setting - this makes geotagging new issues a lot easier).
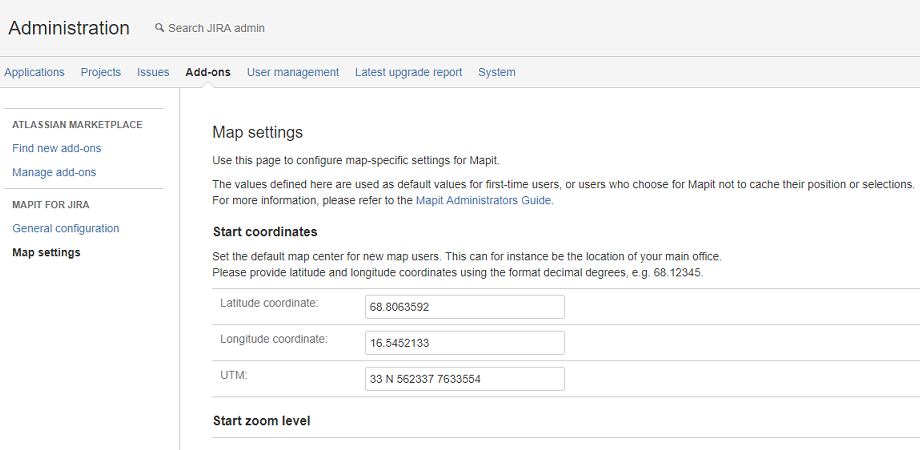
3. Set a default map center
In the Map settings page, set a default map center position (latitude and longitude or utm) for new users of the Mapit gadget. This could for instance be your company's headquarters - find the position using OpenStreetMap or other map sources. The format of the latitude and longitude coordinates must be in decimal degrees (DD), omitting the degree symbol, e.g. 68.12345 or 68,13456.
If you have opted for UTM Geographic coordinate system, you can specify your position in this format. Read to learn more about UTM.
An example value in this format is as follows: 33 N 562337 7633554
Don't worry if you can't decide on these settings now - you can always set them later.
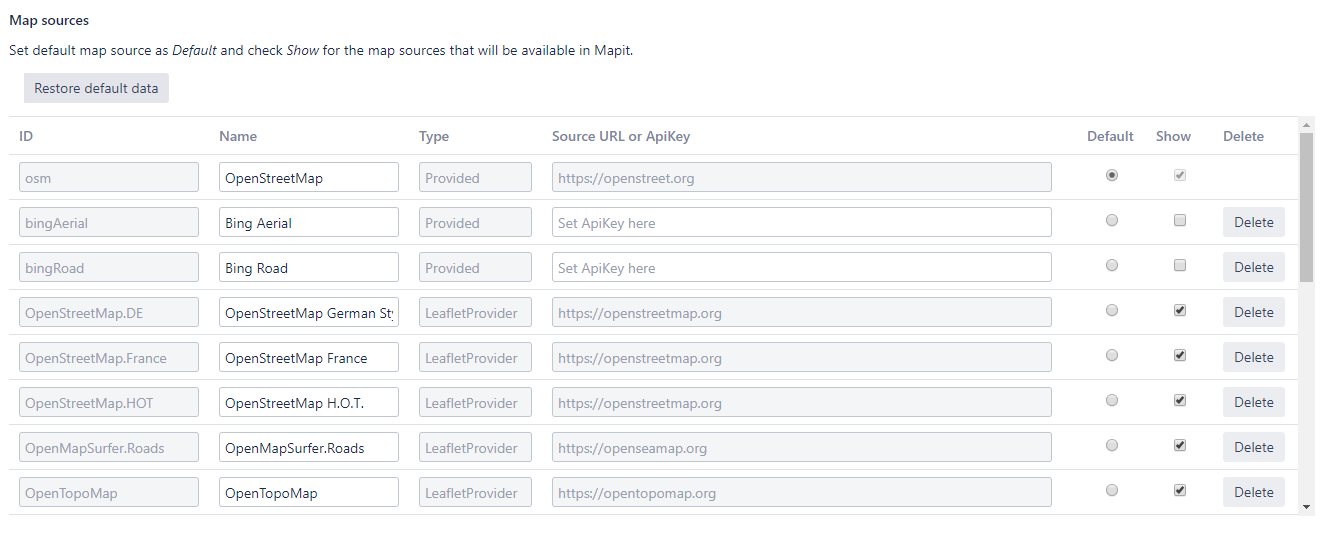
4. Map sources
Mapit supports many alternative source maps. Set default map source as Default and check Show for the map sources that will be available in Mapit.
If no changes have been made then OpenStreet map source will be used by default. The names that will be displayed in Mapit-gadget can be edited. For Bing map sources, API Key is required.
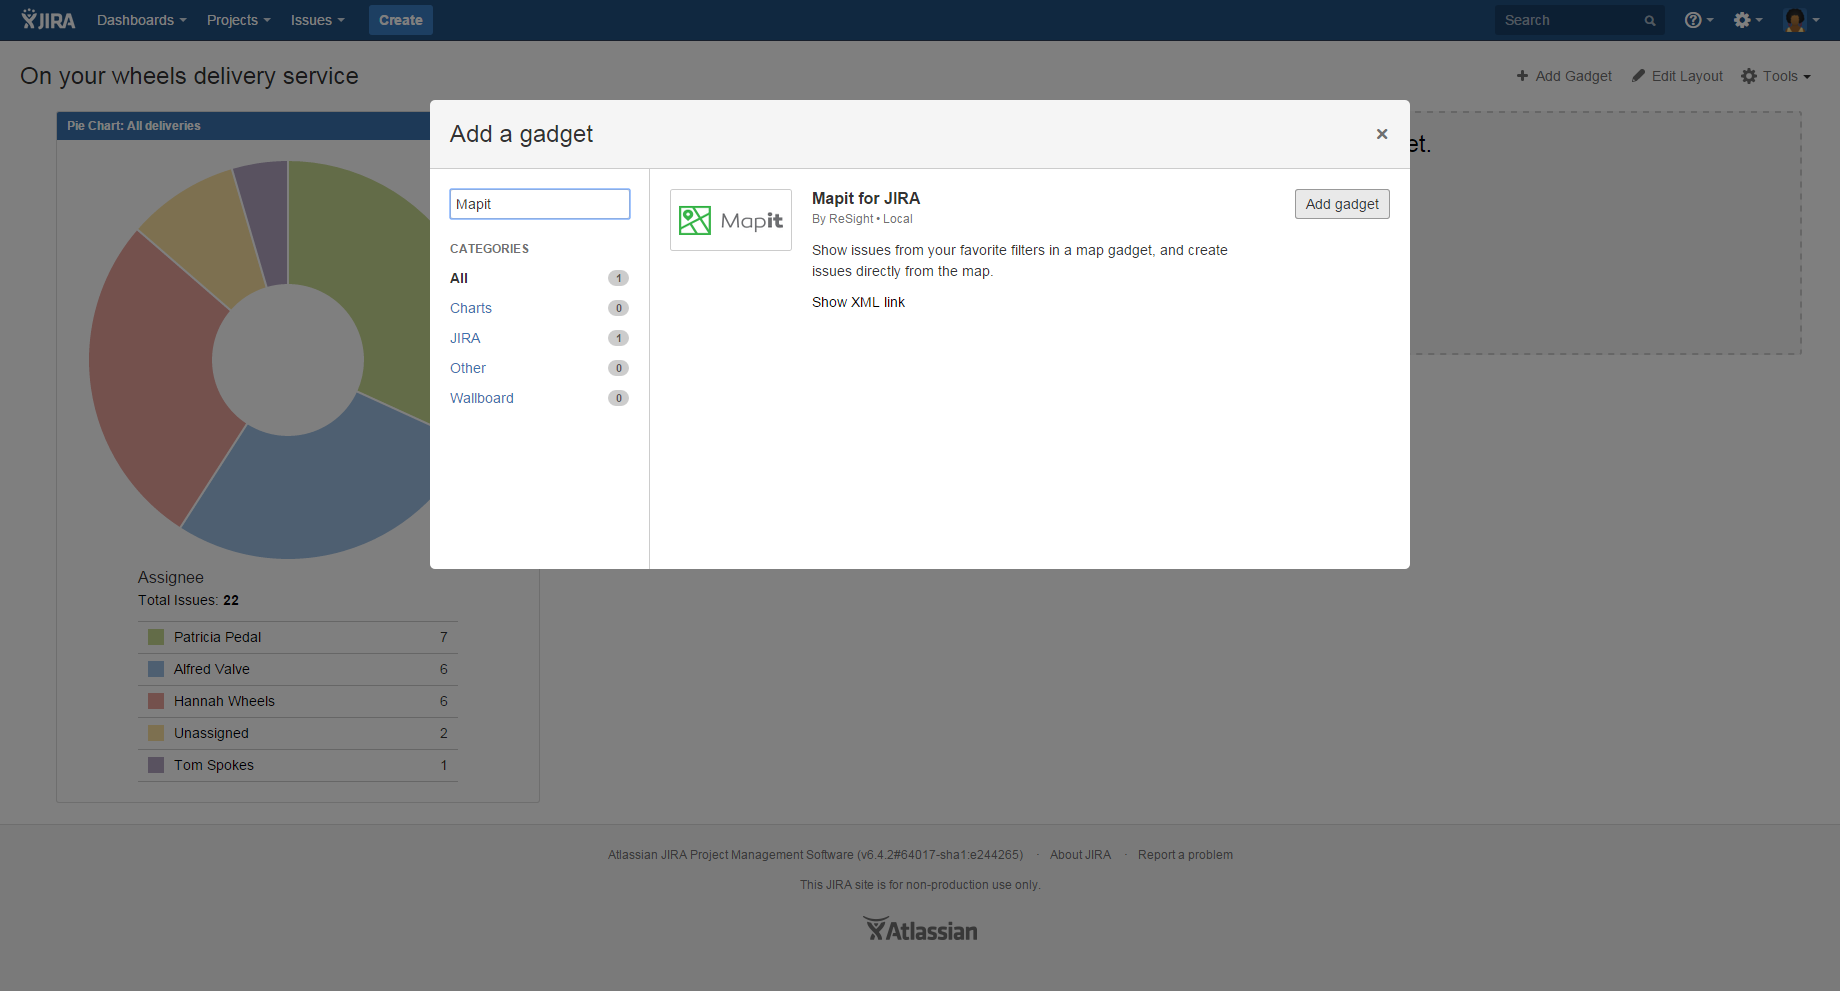
5. Add the gadget to a dashboard
Mapit is a gadget, so it needs to be added to a dashboard before it can be used. Add the gadget to the system dashboard, a shared dashboard of your choice, or leave it to your users to add it themselves.