Say you plan work with Jira, and your work issues can be located across a vast geographical area, like a region, a county, or even different city suburbs.
You do not want to manually spend time locating what area each of your issues are in, because lets face it, unecssesary manual activity is to be avoided if possible.
In Mapit you can define your own areas on a map, and use them to add information when creating issues and help users see if an issue is inside or outside the defined area.
Usecase example
Our example company does work all over Norway. Here in Norway we often devide our country into regions - North, south, west, east and middle.
The company has a regional manager for each of the regions, and they want an easy way to keep track of the Jira tasks that are in their own region. Olav is one of those regional managers. He is manager for the region "Southern Norway". Olav does not create all the Jira issues, but he needs to follow up on all of them.
To help Olav with this, Area handling in Mapit as been enabled, a Jira component has been created named for each of the regions in Norway, and the regions has been defined on the map using the Mapit area admin gadgets drawing function.
Now, if a new issue is created with geodata pinpointing it to be just outside of Oslo, the component "Southern Norway" is automatically added to that issue. And Olav knows he only needs to search for issues with the "Southern Norway" component to fully be on top of the issues he is manager for.
Enable area
To enable the ability to define areas in the map, go to Mapit General Configuration in the Jira Administrator Panel and enable the Area handling option.
Mapit area admin for JIRA
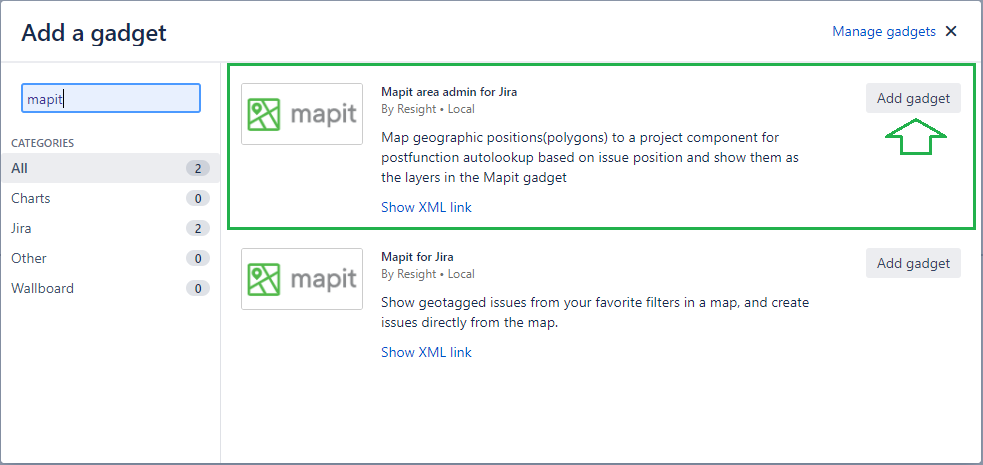
To draw and manage areas in the map, you need to add the gadget Mapit area admin for JIRA to a dashboard.
Permissions
Please note that to be able to define and manage areas, the user must have administrator permissions for the given project.
Defining areas in Mapit
Note: Mapit areas use components as a tag for the different areas, if you do not already have appropriate components defined, you should define some first.
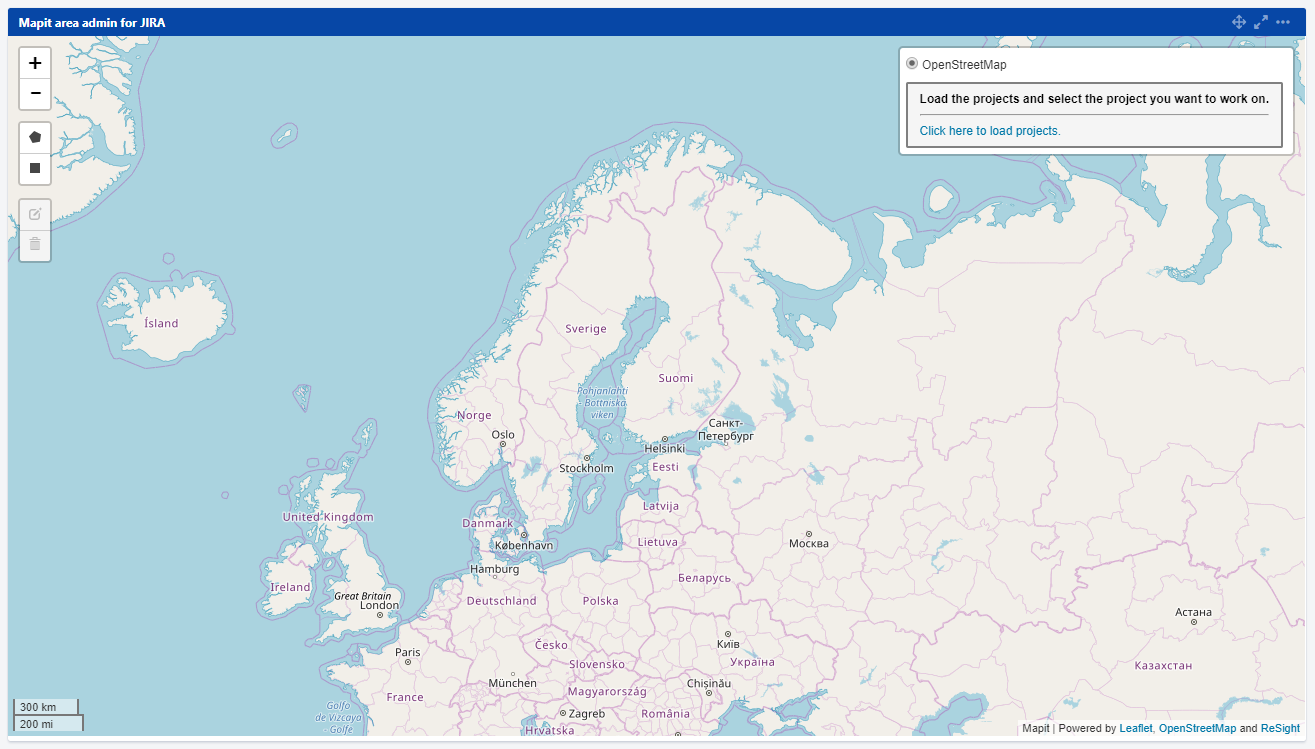
Opening the dashboard containing the Mapit Area admin gadget, a map will be displayed. (the map has the start coodinators as defined in Map Settings) The map has a menu in the top right corner. Start by choosing a project to draw areas for.
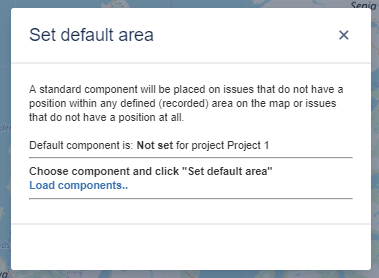
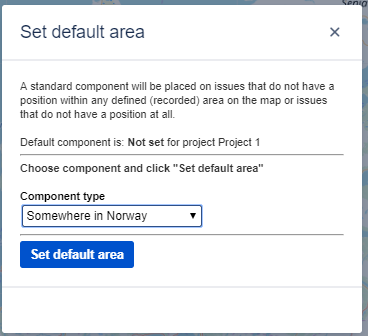
The first time you choose a project, you are asked to set a default area. If the default area has been defined you will not see this dialouge.
Note
Note: Mapit areas use components as a tag for the different areas, if you do not already have appropriate components defined, you should define some first.
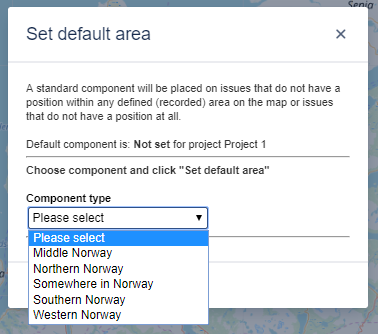
Load components, choose the appriate one and click "set default area". Once a default has been set, you can change it to a different component, but not remove the default area.
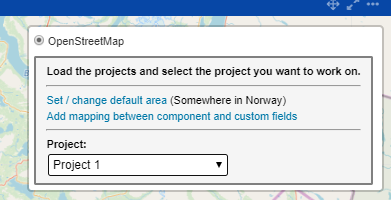
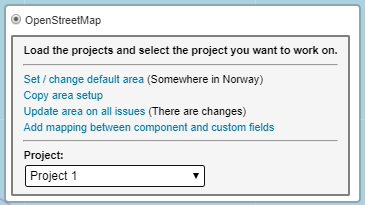
After a project has been chosen, some new options will appear in the menu, and also, if any areas have already been defined, these will show in the map.
Image 1 above shows the options available before any areas have been defined, image 2 above shows options after at least one area have been defined.
Loading the project causes the buttons to become active.
Create a rectangular area
Press the button and then click and drag to draw a rectangle to define the area of interest to you.
In the popup, select the appropriate component and then press the Next button
Create a polygon area:
Press the button and then use the mouse to determine the next points of the area you are interested in.
By selecting the starting point again - you will close the area and finish drawing.
In the popup, select the appropriate component and then press the Next button
Editing an existing area
Press the button, make changes to the area then press the Save changes button
In the received dialog box, choose whether you want
Update all issues (See point Update area on all issues in the Administrating areas section)
Only save the areas
Delete existing areas
Press the button and click on the area you want to delete then press the Save changes button
In the received dialog box, choose whether you want
Update all issues (See point Update area on all issues in the Administrating areas section)
Only save the areas
Administrating areas
In the Mapit Area admin gadget menu, there are some options for administrating areas (some of these are only available after an area has been defined):
Set / change default area (always available when a project has been choosen)
Opens the dialouge to set default area. The currently set default area is shown in brackets
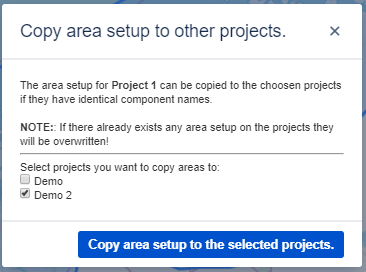
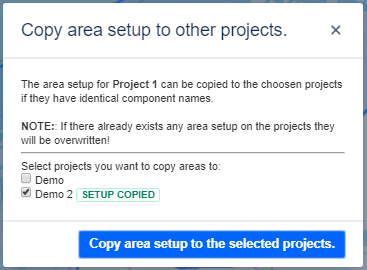
Copy area setup (only available aftear at least one area has been defined)
This option makes it possible to copy areas from this project to other Jira projects
Open the dialouge and select what projects you want to copy to. Note that only components with identical names will be copied. Also any existing areas in the project( s) copying to, will be overwritten.
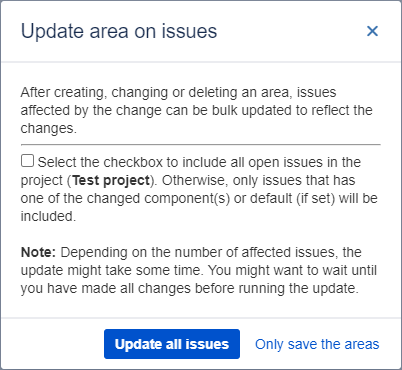
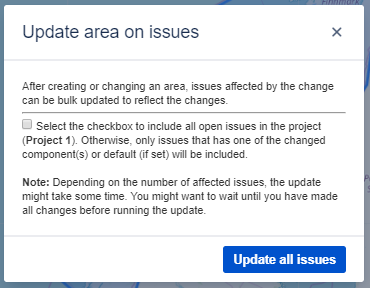
Update area on all issues(only available aftear at least one area has been defined)
This is used to update issues that are affected by newly created or changes to an existing area. For instance; if you have expanded an area, any issues that now are within that area can be updated with the correct component. If you check the box, all open issues (issue status not closed, done or rejected) within the selected project will be included. Othervise only issues within areas that are changed or in the default area will be updated. Depending on how many issues you have in your project, this update might take a while. Run this after you have done all your planned changes.
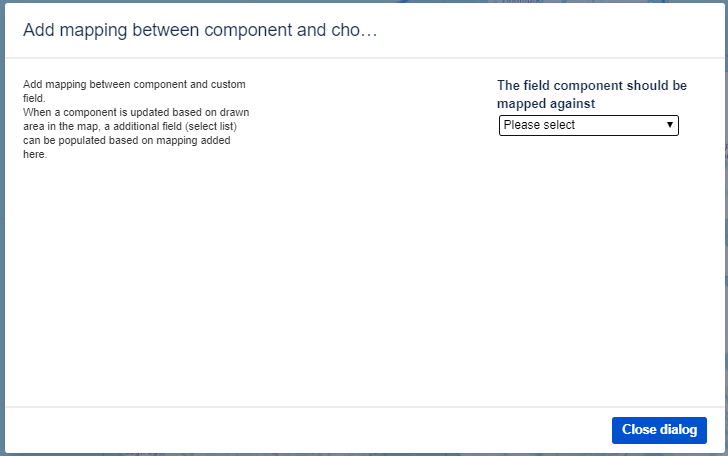
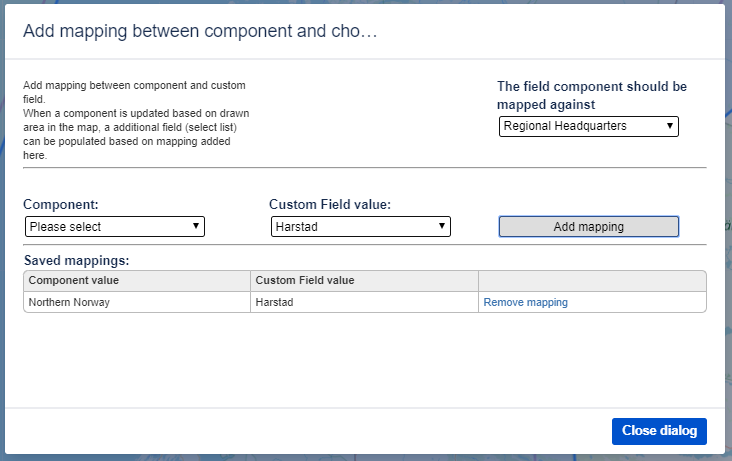
Add mapping between component and custom fields (always available when a project has been choosen)
This is used to add or change a link (or mapping) between components and any select list custom fields that are defined for the project.
Please note - this mapping is only available for custom fields of type "Select list" and the custom field must be defined in advance.
Usecase example
So, our example company is doing well, and branch out. They now have more Jira projects for different types of work. They would like to reuse the Mapit setup for one other project, because the regions are the same. This can easily be done with the "copy area setup" function, so that they do not need to spend time drawing the regions on the map for a second time. (The components do need to be created in the second project though)
In this new project, as well as organising within regions, they also want to add information regarding where the regional headquarters are. The company has created a custom field for this information, and by mapping the custom field value to the corresponding component, this information will also be automatically added to Jira issues.
JavaScript errors detected
Please note, these errors can depend on your browser setup.
If this problem persists, please contact our support.